Want to see the Lead Board in action? Watch this quick tutorial to learn how to move leads through the pipeline, track engagement, and optimize your deal flow using best practices. Perfect if you're just getting started or want a refresher on how to maximize your leads.
👉 Watch the video below, then scroll down for a detailed written guide.
Lead Board Columns Explained

Each column represents a different lead status:
- New Leads: Outbound - Leads you are actively reaching out to.
Inbound - Leads who have contacted you first or submitted interest in a property. -
Attempted to Contact
Leads you have tried to contact but have not successfully reached yet. -
Not Interested
Leads that responded but indicated they are not interested in your deal or property. -
Interested
Leads that have shown genuine interest in your deal or property. -
Offer Made
Leads that have submitted an official offer for the property.
Moving Leads on The Lead Board
The Lead Board uses a drag-and-drop interface for simple and intuitive lead management. Moving leads between stages is quick and visually clear. The more you work the leads (move them out of the New Leads column), the search algorithm should search for more leads and they should appear quickly.
Status Transitions
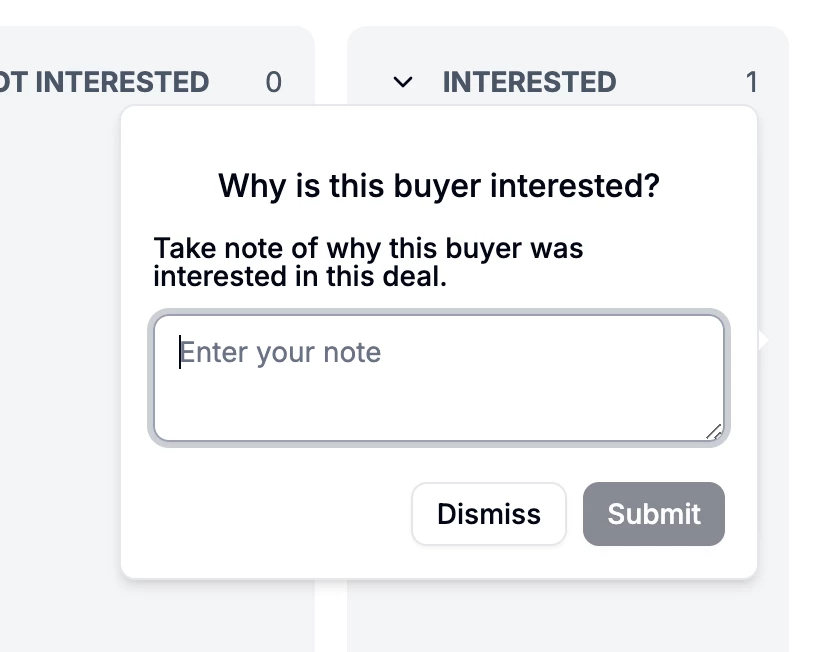
Attempted to Contact → Interested
-
Drag the lead card to the Interested column.
-
Add a note using the note icon for context.
-
Click Submit to save changes.
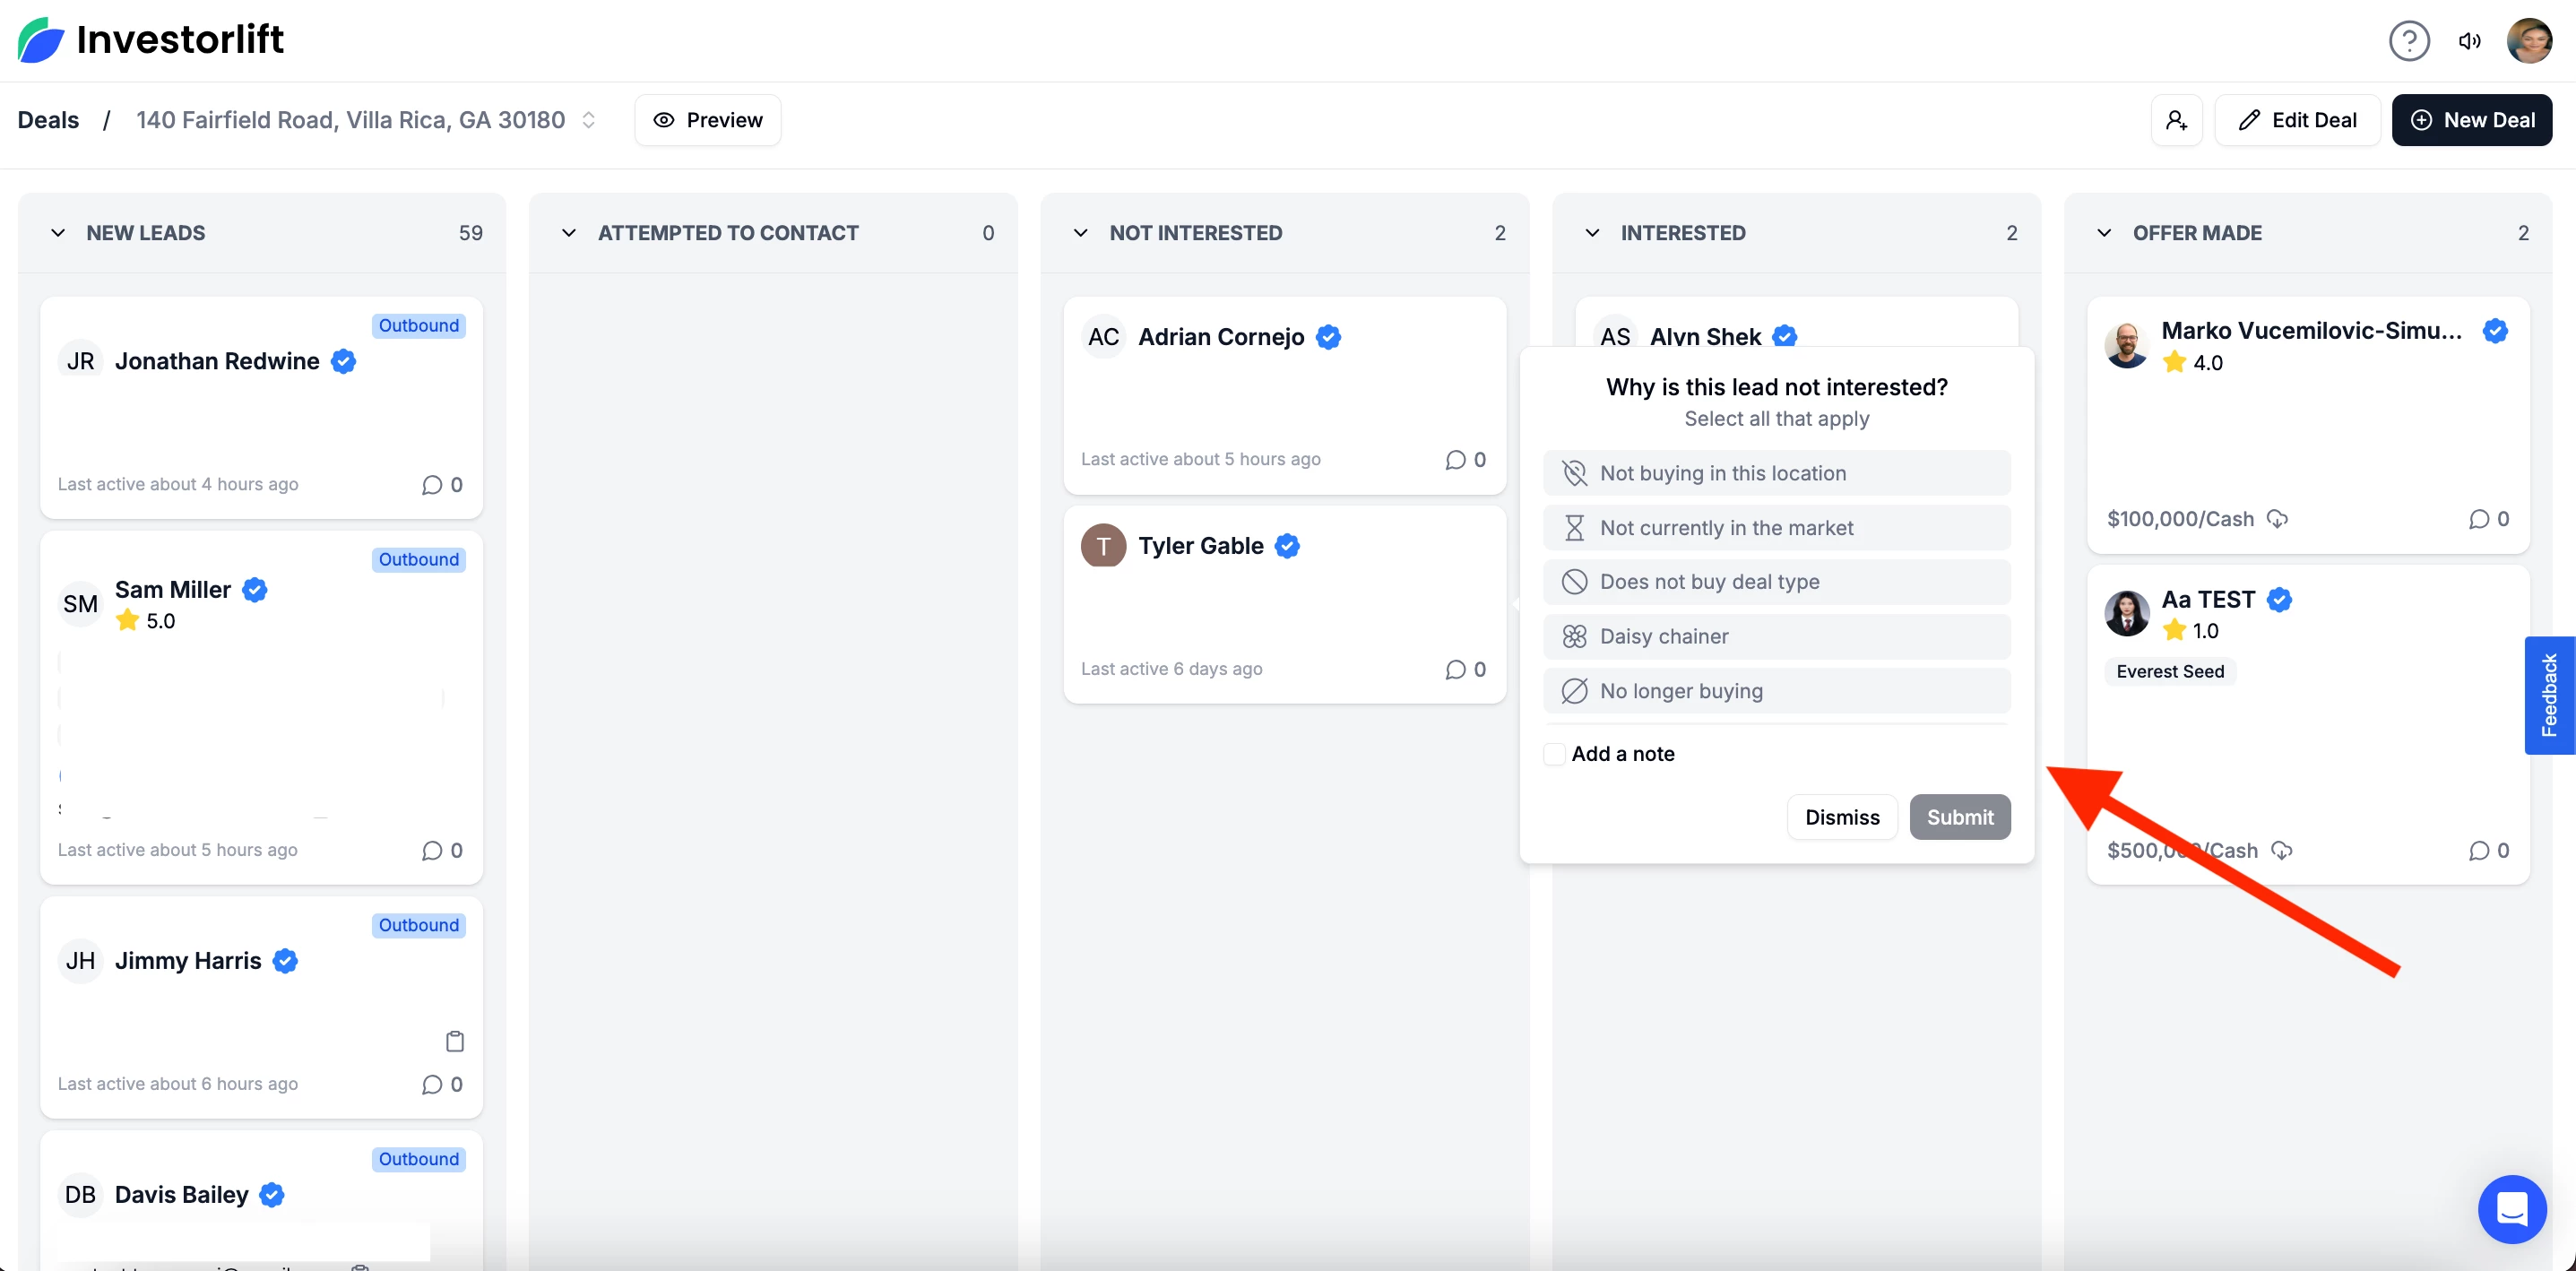
Attempted to Contact → Not Interested
-
Drag the lead card to Not Interested.
-
A prompt will appear to select a reason for the status change.
-
Select the reason and click Submit to confirm.
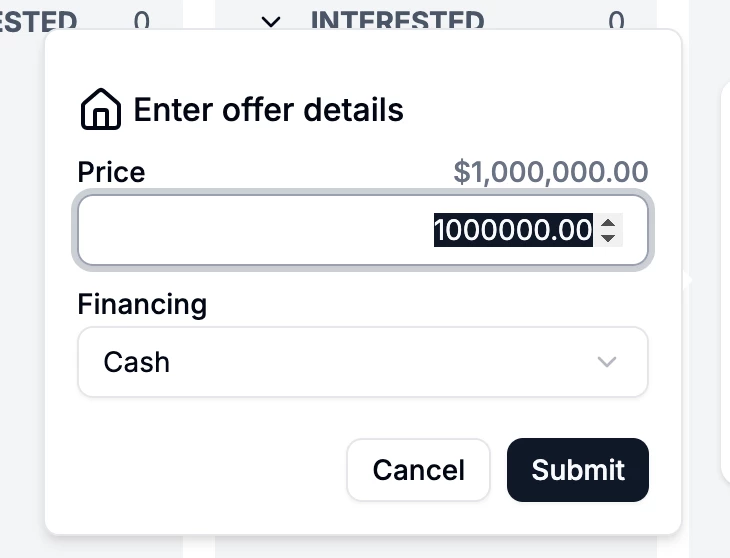
Interested → Offer Made
-
Move the lead to Offer Made.
-
A form will appear to enter the offer details, such as price and financing information.
-
Complete the form and click Submit to record the offer.
Using the “Last Active” Indicator
Each lead card shows a timestamp like “Last active about X hours ago.”
Use this to:
-
Prioritize leads that have engaged recently.
-
Identify and follow up with leads who have not responded in a while.
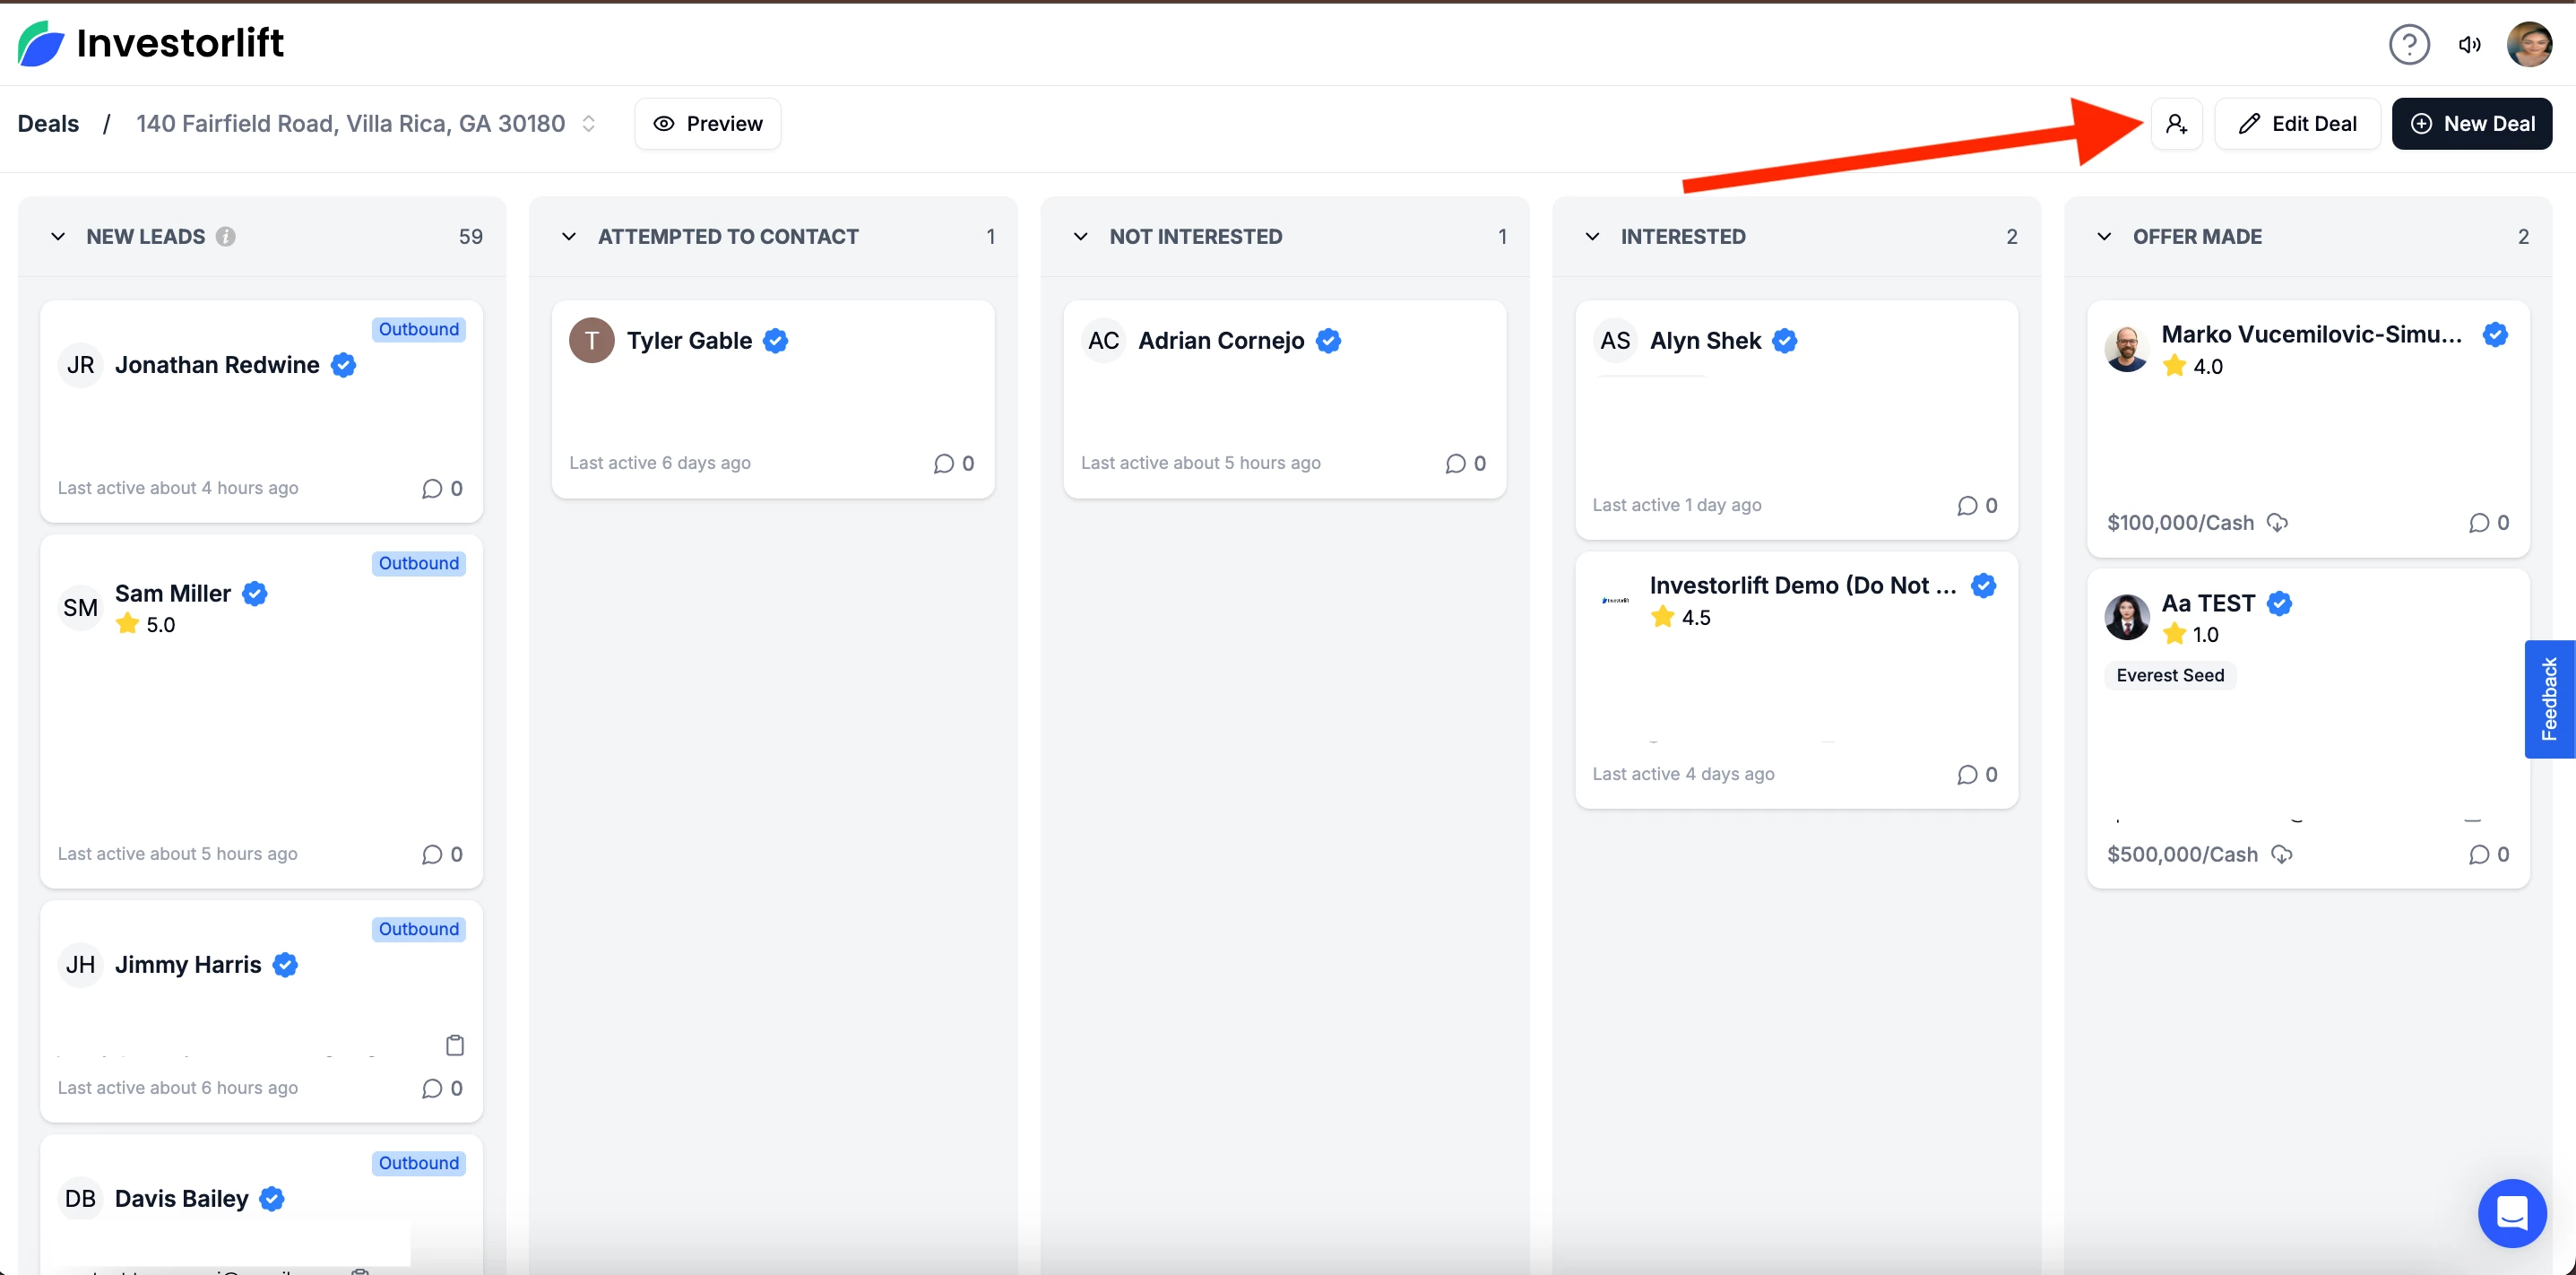
How to Add a Lead manually
To add a lead manually,
- Click on the ‘Add a lead’ icon.
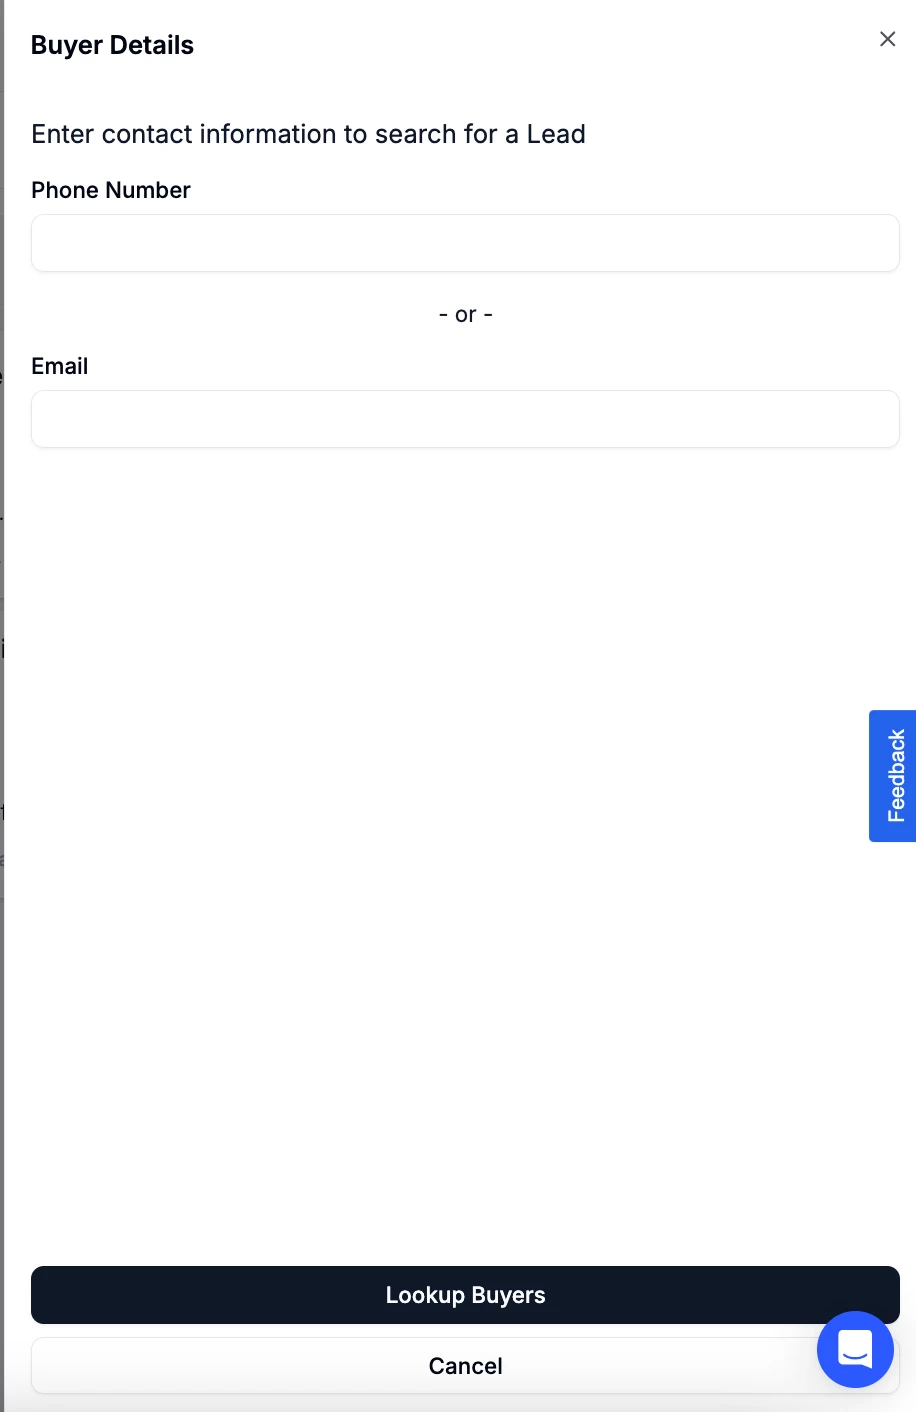
- A window will be opened. Enter the buyer’s phone number or email and click ‘Lookup Buyers’.
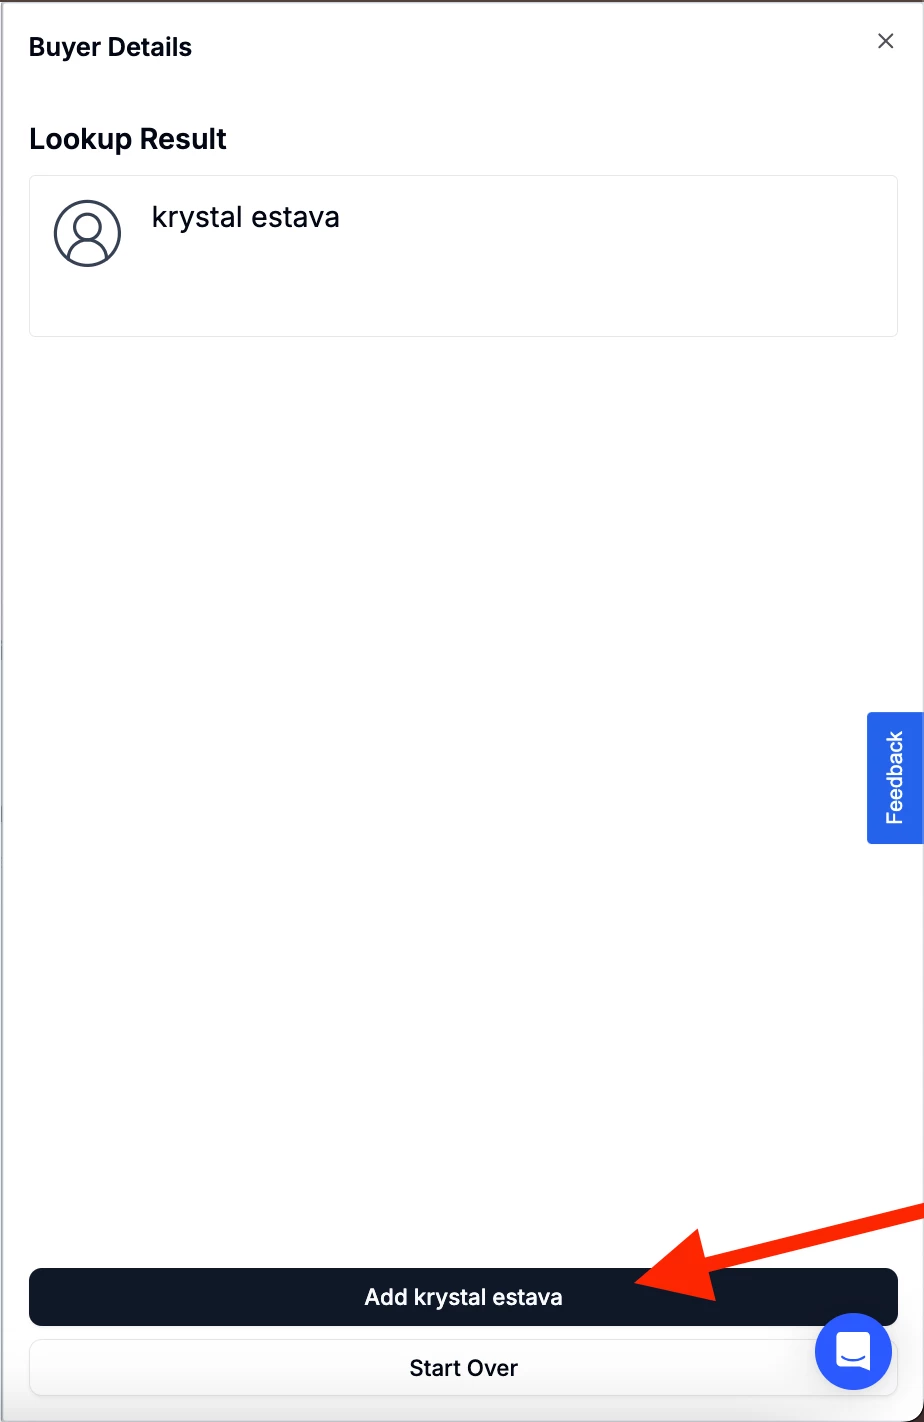
- The buyer will be generated. Click ‘Add *Buyer’s name*’. To go back, click ‘Start Over’.
Notes and Communication Tools
You can add notes directly to a lead card using the note icon.
-
This ensures you maintain a clear history of all interactions, including contact attempts, responses, and deal discussions.
You can check more information about how to use the notes feature effectively here:
Best Practices for Managing Leads
Follow these tips for efficient lead management:
-
Document Every Interaction: Use notes to log calls, messages, and responses.
-
Review “Not Interested” Leads Regularly: Look for common objections to improve outreach strategies.
-
Monitor “Offer Made” Leads: Respond quickly to active offers to keep negotiations moving.
-
Act Timely: Use “Last Active” timestamps to guide your daily follow-ups.
Contact for Support
If you still have questions or encounter issues, we're here to help.
Contact Us:
-
Wholesaler Support (email): support@investorlift.com
-
Live Chat: Available in your bottom-right corner
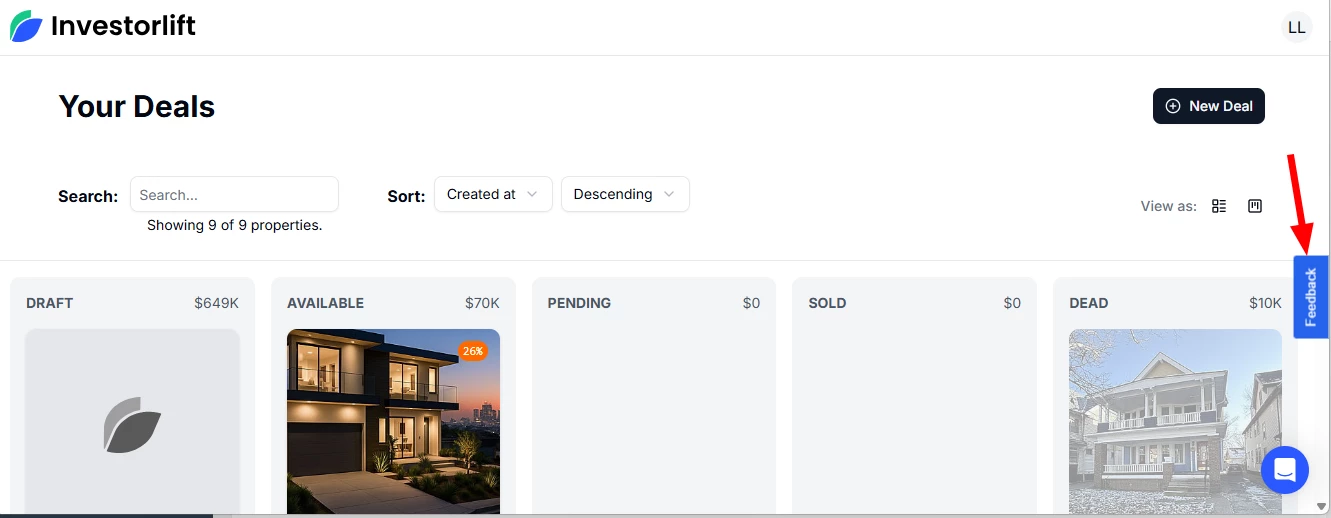
🗣 Your feedback is valuable to us!
We want to hear what you think about the new Investorlift AI. If you have ideas, suggestions, or feedback on how we can make it the platform of your dreams - simply click on the Feedback tab within the platform (as shown in the image) or drop your thoughts in the comments below.