

Efficiently managing entities within Investorlift is crucial for maintaining a well-organized account. Whether you need to add a new entity or remove an existing one, the process is straightforward and simple. This guide provides step-by-step instructions to help admins seamlessly handle entity management on the platform.
Adding an Entity
To add an entity to your Investorlift account, follow these steps:
-
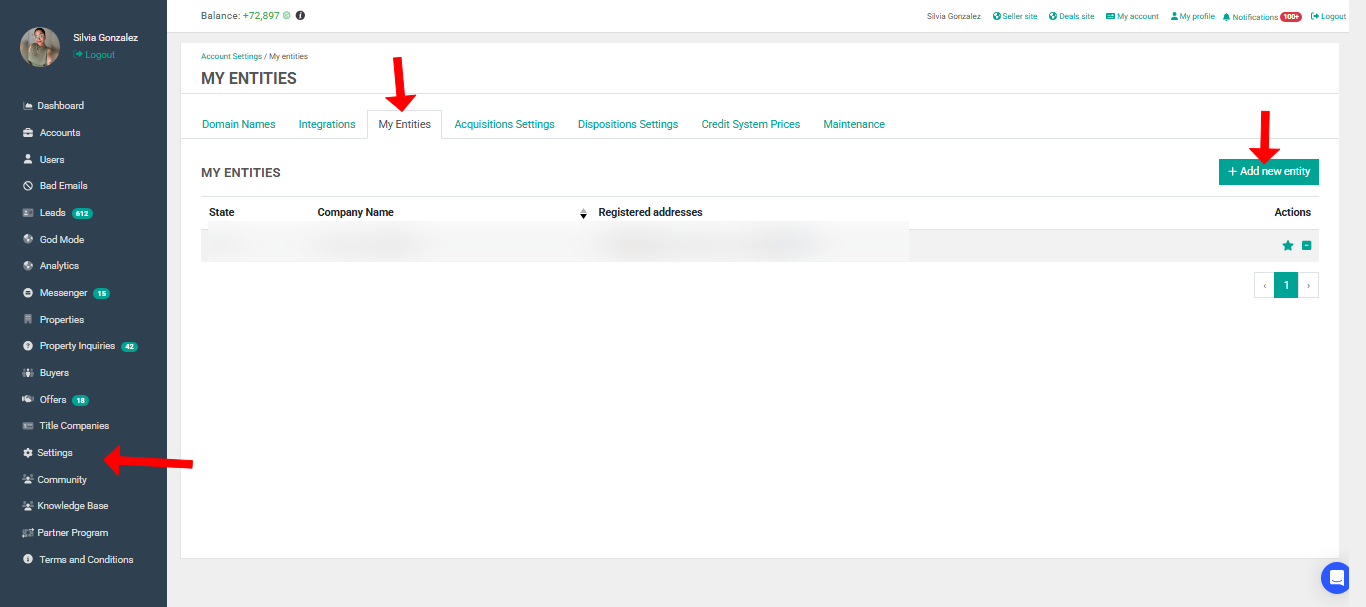
Access Settings: Navigate to the settings section in your account.
-
Click on My Entities: This will display a list of all existing entities associated with your account.
-
Click on Add New Entity: This will initiate the entity creation process.
- Provide Entity Information:
-
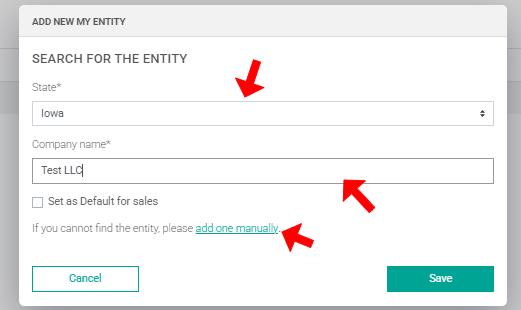
The system will prompt you to enter the State where the entity is located and the Entity Name.
-
If the entity exists, a dropdown will appear allowing you to select the correct name.
-
If the entity does not exist, you will need to manually enter the details.

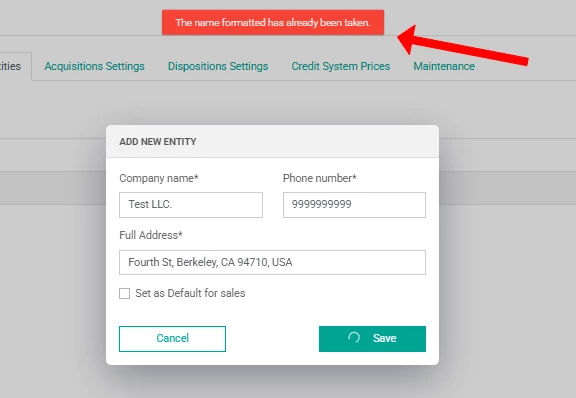
- Manually Adding an Entity:
-
Click on Add one manually.
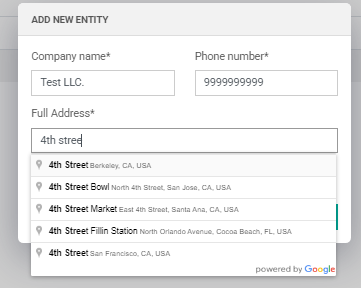
- Enter the phone number and address.
-
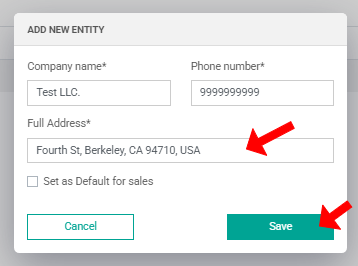
Ensure the address is selected from the dropdown list so that it is recognized by the system.
- Save the Changes: Click on Save to finalize the addition of the entity.
⚠ Please note that only users with the admin role have access to settings.
Handling Name Already Taken Error
If you receive an error stating: The name formatted has already been taken, this means that an entity with the same exact name already exists in the system. To resolve this:
-
Modify the entity name slightly by adding or removing punctuation.
-
Example:
-
Test LLC. → Change to Test LLC
-
Test LLC → Change to Test LLC,
-
This small adjustment will allow you to proceed with adding the entity successfully.
Removing an Entity
Before removing an entity, ensure that all contracts linked to the entity are removed from the platform/properties. Once this is done, follow these steps:
-
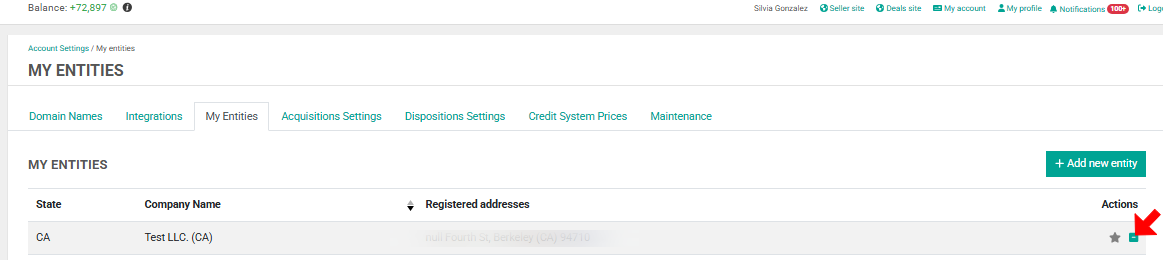
Access Settings: Navigate to the settings section.
-
Click on My Entities: This will display all the entities linked to your account.
-
Find the Entity to Remove: Locate the entity you wish to delete.
-
Click on the (-) Symbol: This is located next to the entity name.
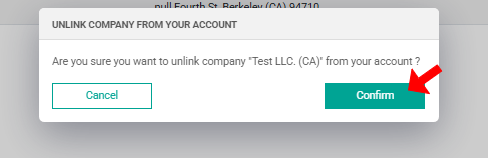
- Confirm Deletion:
-
A pop-up will appear asking for confirmation.
-
Click Confirm to complete the removal process.
By following these steps, admins can efficiently manage entities within InvestorLift. Ensuring correct entry details and clearing linked contracts before removal will help maintain a seamless workflow on the platform.
Contact Support
If you still have questions or encounter issues, we're here to help.
Contact Us:
-
Wholesaler Support (email): support@investorlift.com
-
Live Chat: Available in your bottom-right corner
🗣Your feedback is valuable to us! Scroll down and let us know if this content was helpful to you. Every rating helps us make our Help Center better for you.